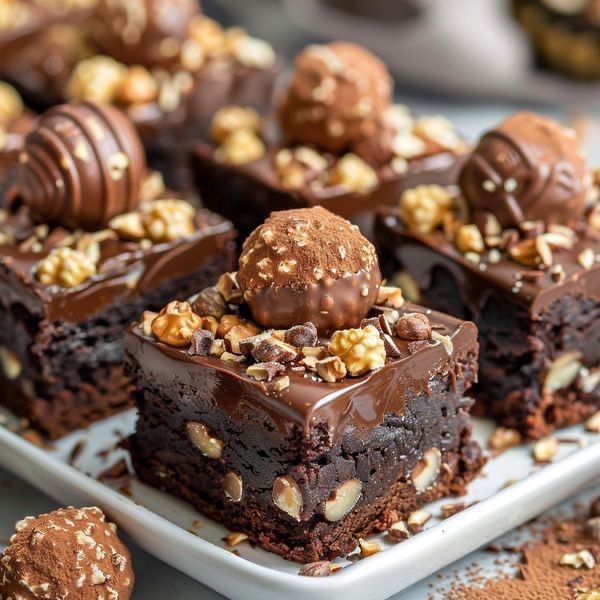
Oreo Balls, also known as Oreo truffles, are rich, bite-sized treats made from crushed Oreo cookies, cream cheese, and a chocolate coating. They’re no-bake, easy to prepare, and perfect for parties, holidays, or as a quick dessert when you’re short on time. With a crisp chocolate shell and creamy, cookie-filled center, they are as delicious as they are impressive. The best part? You only need a few ingredients and minimal kitchen equipment to make these indulgent bites.
Recommended Kitchen Tools
These five simple tools are all you need:
- Food processor (or blender) – to crush the Oreos
- Mixing bowl – to combine ingredients
- Spatula or spoon – for mixing
- Baking sheet – for setting and chilling the balls
- Microwave-safe bowl – to melt the chocolate
Ingredients
- 36 Oreo cookies (about 3 cups of cookie crumbs)
- 8 oz (225 g) cream cheese, softened
- 12 oz (340 g) semi-sweet or dark chocolate, chopped or in chips
- Optional toppings: crushed Oreos, sprinkles, sea salt, or white chocolate drizzle
Method of Preparation
Step 1: Crush the Oreos
Place the Oreo cookies (with the filling) into a food processor. Pulse until you get fine, sand-like crumbs. If you don’t have a food processor, place the cookies in a zip-top bag and crush them using a rolling pin until the texture is uniform.
Step 2: Mix with cream cheese
Transfer the Oreo crumbs to a mixing bowl. Add the softened cream cheese. Using a spatula or spoon, mix until the cream cheese is fully incorporated. The mixture should form a thick, smooth dough. You can use clean hands for easier mixing if needed.
Step 3: Form the balls
Scoop out small portions (about 1 tablespoon) of the mixture and roll into balls using your hands. Place the formed balls on a baking sheet lined with parchment paper. Repeat until all the mixture is used — you should get about 24–30 Oreo balls.
Chill the balls in the refrigerator for 30–45 minutes, or in the freezer for 15–20 minutes, to firm them up before dipping in chocolate.
Step 4: Melt the chocolate
Place the chopped chocolate or chocolate chips in a microwave-safe bowl. Microwave in 20–30 second intervals, stirring between each interval, until completely melted and smooth. Be careful not to overheat.
Tip: You can also melt the chocolate using a double boiler if preferred.
Step 5: Coat the Oreo balls
Using a fork or toothpick, dip each chilled Oreo ball into the melted chocolate, ensuring it’s fully coated. Gently tap off any excess chocolate and return the ball to the lined baking sheet. While the coating is still wet, sprinkle with crushed Oreos, colored sprinkles, or a touch of sea salt if desired.
Optional: Drizzle melted white chocolate over the tops for a decorative finish.
FAQs
Q: Can I use flavored Oreos?
Yes! Try Golden Oreos, mint, or peanut butter for a fun twist.
Q: Can I use a hand mixer instead of a spatula?
A spatula works best to avoid overmixing, but a mixer on low speed is fine.
Q: How long do Oreo balls last?
Stored in an airtight container in the fridge, they last up to 1 week. They can also be frozen for up to 2 months.
Q: Can I use white chocolate instead of dark?
Absolutely! White, milk, or dark chocolate all work great. Just make sure it’s good-quality chocolate that melts smoothly.
Q: Do I need to refrigerate them after dipping?
Yes. Let them chill again for at least 15 minutes so the chocolate shell can fully set.
Conclusion
Oreo Balls are the ultimate make-ahead, no-bake dessert — creamy, chocolatey, and endlessly customizable. Whether you’re preparing a festive tray for the holidays or just want a sweet treat for yourself, these truffles are simple to make and always a crowd favorite. Best of all, they require no oven, minimal cleanup, and only a few ingredients. Once you try them, they’ll become a staple in your dessert rotation.