
Garlic dinner rolls are a soft, buttery, and aromatic addition to any table. Infused with fresh garlic and brushed with melted butter and herbs, these rolls are perfect for pairing with pasta dishes, soups, stews, or grilled meats. Their pillowy texture and golden tops make them irresistible. Whether you’re planning a family dinner or a special gathering, these rolls are guaranteed to please everyone.
What sets garlic dinner rolls apart is their ability to balance savory depth with a fluffy, slightly sweet dough. The rich garlic flavor doesn’t overpower but enhances each bite, especially when warm from the oven. While they may look fancy, the preparation is simple and approachable—even for beginner bakers.
Let’s walk through how to make these crowd-pleasing garlic dinner rolls with just a few common ingredients and minimal kitchen equipment.
Recommended Kitchen Tools
Only five tools are needed to make these rolls from scratch:
- Mixing bowl
- Measuring cups and spoons
- Wooden spoon or silicone spatula
- Baking dish or tray (9×13 inch recommended)
- Pastry brush
Ingredients
For the Dough:
- 3 ½ cups (420 g) all-purpose flour
- 2 ¼ teaspoons (1 packet) active dry yeast
- 2 tablespoons granulated sugar
- 1 teaspoon salt
- ¾ cup (180 ml) warm milk (about 110°F or 43°C)
- ¼ cup (60 ml) warm water
- 1 large egg, room temperature
- ¼ cup (57 g) unsalted butter, melted
For the Garlic Butter:
- ¼ cup (57 g) unsalted butter, melted
- 2 cloves garlic, minced or finely grated
- 1 tablespoon chopped fresh parsley (or 1 teaspoon dried)
- Pinch of salt (optional)
Method of Preparation
1. Activate the Yeast
In a mixing bowl, combine the warm water, sugar, and yeast. Stir briefly and let sit for 5–10 minutes until frothy. This means the yeast is active.
2. Make the Dough
Add the warm milk, melted butter, egg, and salt to the yeast mixture. Stir to combine. Gradually add flour, about 1 cup at a time, mixing until a soft dough forms. Use a spoon or spatula to bring it together. If the dough feels too sticky, add a tablespoon of flour at a time.
3. Knead and Rise
Knead the dough by hand in the bowl or on a floured surface for about 5–7 minutes until smooth and elastic. Return the dough to the bowl, cover with a clean cloth or plastic wrap, and let it rise in a warm place for 1 hour, or until doubled in size.
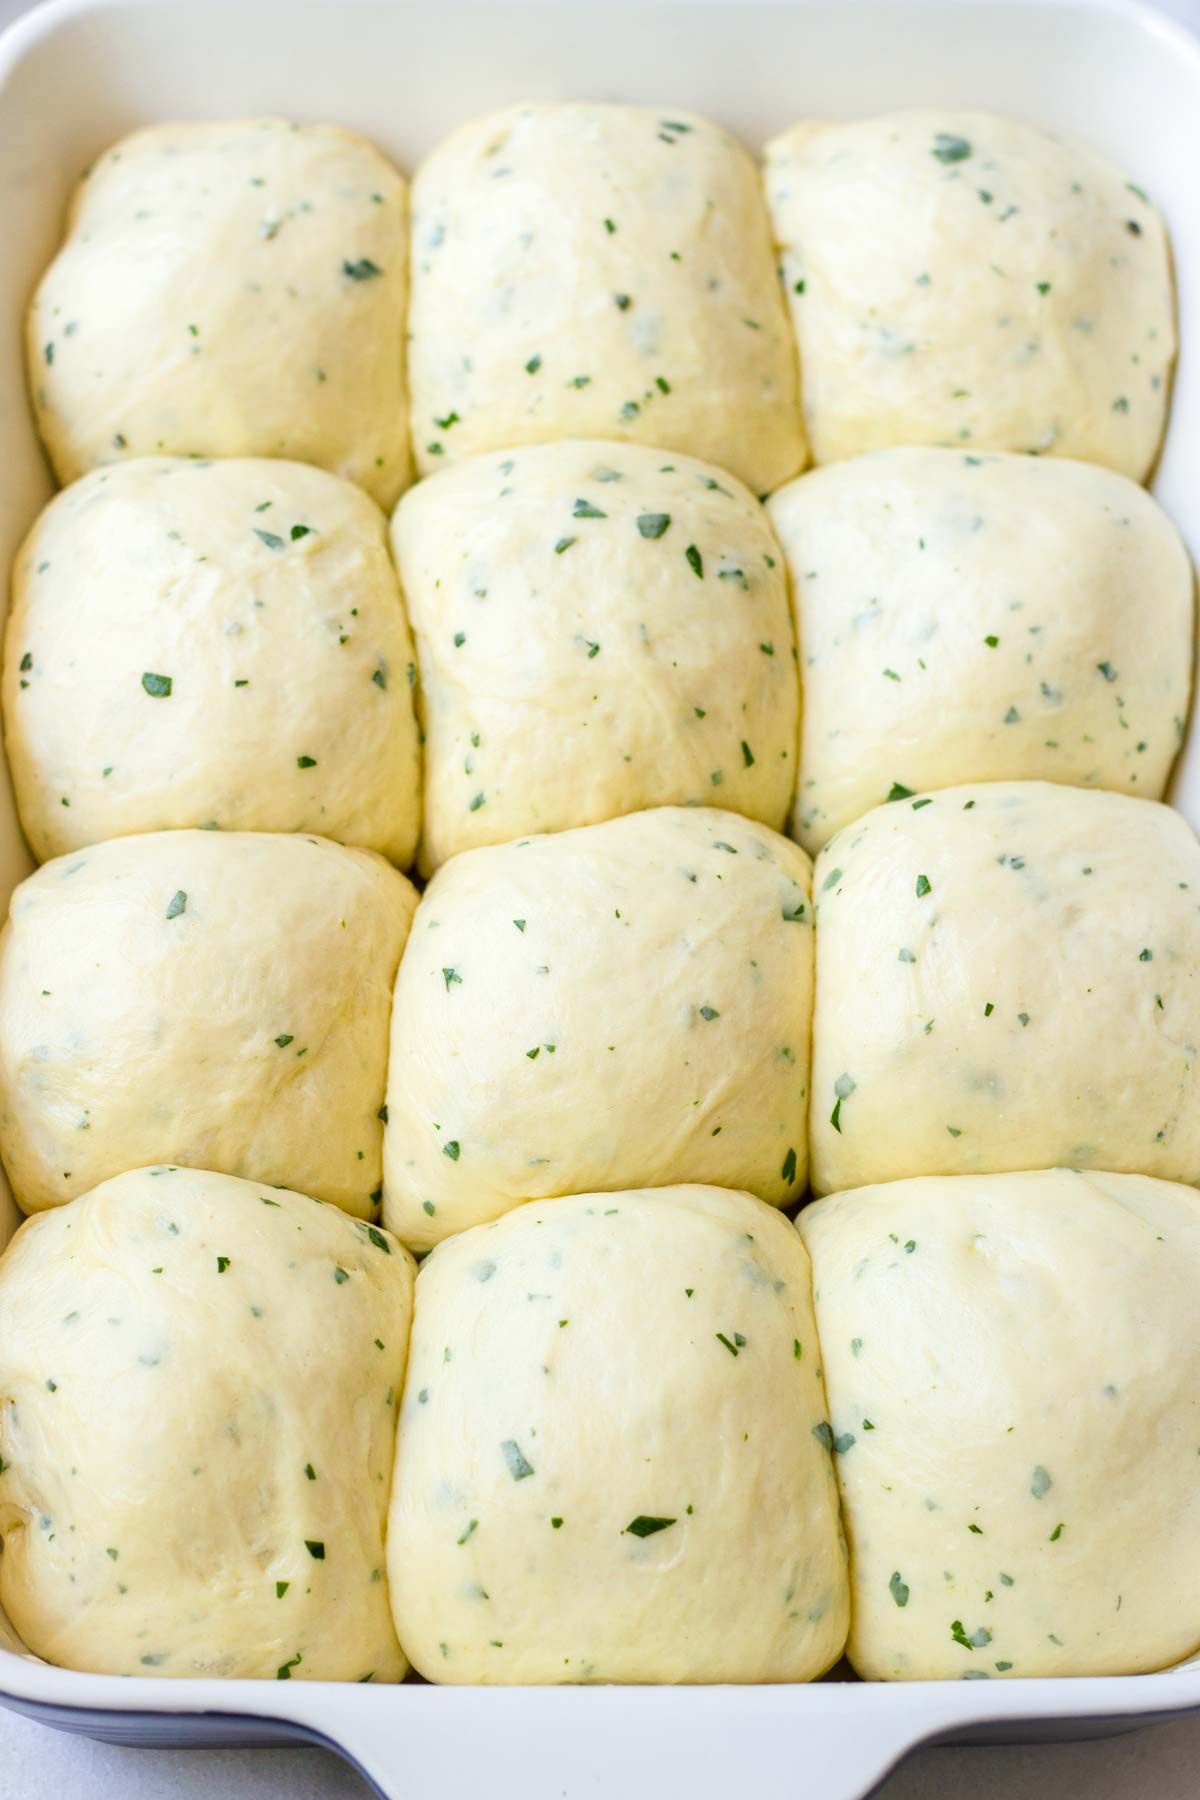
4. Shape the Rolls
Punch down the dough and divide it into 12 equal portions. Shape each into a ball. Place the rolls into a greased 9×13 inch baking dish, spaced slightly apart. Cover again and let rise for another 30–40 minutes.
5. Bake
Preheat the oven to 375°F (190°C). Once risen, bake the rolls for 15–18 minutes or until golden brown on top.
6. Prepare Garlic Butter
While the rolls are baking, melt the butter and stir in the minced garlic and parsley. Once the rolls are out of the oven, brush them immediately with the garlic butter while still warm.
FAQs
Q: Can I make these ahead of time?
Yes, shape the rolls and refrigerate them overnight. Let them come to room temperature before baking.
Q: Can I use instant yeast?
Absolutely. Skip the proofing step and mix it directly with the dry ingredients.
Q: How do I store leftovers?
Store cooled rolls in an airtight container at room temperature for up to 3 days. Reheat in the oven for a few minutes before serving.
Q: Can I freeze them?
Yes. Freeze after shaping or after baking. Thaw and warm before serving.
Q: What if I don’t have fresh garlic?
Use ½ teaspoon of garlic powder mixed into the melted butter.
Conclusion
These garlic dinner rolls are the perfect combination of fluffy, buttery, and garlicky goodness. They’re easy enough for weeknight dinners and impressive enough for holidays or gatherings. With just five tools and pantry staples, you’ll be amazed at how quickly these rolls come together. Serve them warm and watch them disappear—guaranteed to be a new favorite in your bread basket.