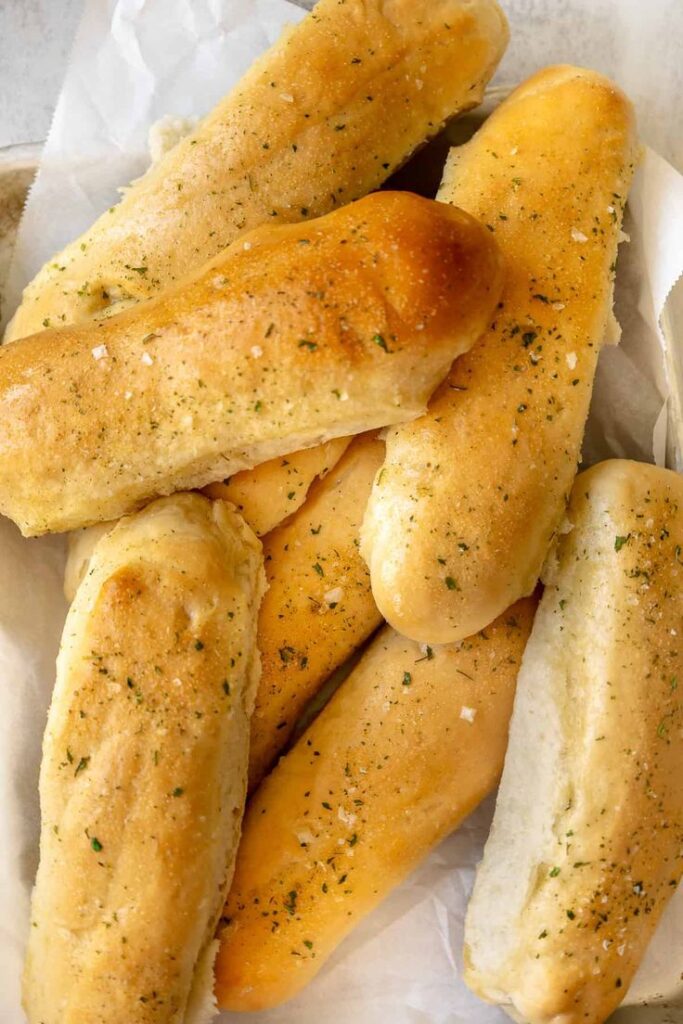
If you love Olive Garden’s signature breadsticks, you’ll be thrilled to know you can recreate them at home! These soft, buttery breadsticks with a hint of garlic are perfect for pairing with pasta, soups, or salads. With this easy recipe, you’ll enjoy the same irresistible flavor and texture right from your kitchen.
Recommended Kitchen Tools
- Mixing bowls – for combining ingredients
- Measuring cups and spoons – for accuracy
- Stand mixer with dough hook (optional) – for easier kneading
- Pastry brush – to apply butter and garlic topping
- Baking sheet – for baking the breadsticks
- Plastic wrap or kitchen towel – for dough proofing
ADVERTISEMENT
Ingredients
For the Dough
- 1 cup warm water (about 110°F)
- 2¼ teaspoons active dry yeast (1 packet)
- 2 tablespoons granulated sugar
- 3 cups all-purpose flour
- 1½ teaspoons salt
- 3 tablespoons unsalted butter, softened
For the Topping
- 3 tablespoons unsalted butter, melted
- ½ teaspoon garlic powder
- ½ teaspoon salt
Instructions
Step 1: Activate the Yeast
- Mix Water and Yeast: In a small bowl, combine the warm water, yeast, and sugar. Stir gently and let sit for 5–10 minutes until the mixture becomes foamy.
- Check Foam: If the mixture doesn’t foam, the yeast may not be active. Start again with fresh yeast and warm water.
Step 2: Prepare the Dough
- Combine Ingredients: In a large bowl or stand mixer, combine the flour and salt. Add the yeast mixture and softened butter.
- Knead the Dough: Knead the dough for about 5–7 minutes, either by hand on a floured surface or using the dough hook attachment on a stand mixer. The dough should be smooth and slightly tacky.
- Let Dough Rise: Place the dough in a lightly greased bowl, cover with a damp cloth, and let it rise in a warm place for 1 hour or until it has doubled in size.
Step 3: Shape the Breadsticks
- Divide the Dough: Punch down the dough and divide it into 12 equal pieces.
- Shape the Breadsticks: Roll each piece into a 6- to 7-inch-long breadstick shape and place them on a baking sheet lined with parchment paper or lightly greased.
- Second Rise: Cover the shaped breadsticks with a damp cloth and let them rise for 20–30 minutes until slightly puffed.
Step 4: Bake the Breadsticks
- Preheat Oven: Preheat your oven to 400°F (200°C).
- Bake: Bake the breadsticks for 12–14 minutes, or until they are golden brown on top.
Step 5: Add the Topping
Prepare Butter Mixture: While the breadsticks are baking, melt the butter and mix it with garlic powder and salt.
- Brush with Butter: Once the breadsticks are out of the oven, immediately brush them with the melted butter mixture.
- Serve: Serve warm for the best taste.
Tips for Success
- Consistency: The dough should be soft but not overly sticky. Add a little extra flour if needed while kneading.
- Make Ahead: You can prepare the dough a day in advance. Let it rise in the fridge overnight and shape the breadsticks the next day.
- Extra Garlic Flavor: Sprinkle additional garlic powder or Parmesan cheese over the buttered breadsticks for a flavor boost.
- Reheating: Reheat leftovers in the oven at 300°F for 5–7 minutes or until warm.
Pro Tips
- Use warm water (about 110°F / 43°C) to activate the yeast properly.
- Let the dough rise in a warm, draft-free spot until doubled in size.
- Shape breadsticks evenly for uniform baking and appearance.
- Brush with garlic butter both before and after baking for rich flavor.
- Serve warm — they taste best fresh out of the oven!
🔄 Variations
- Cheesy Breadsticks – Sprinkle with grated Parmesan or mozzarella before baking.
- Herb-Infused – Add Italian seasoning or oregano to the garlic butter.
- Spicy Kick – Mix in a pinch of red pepper flakes with the garlic butter.
- Whole Wheat – Substitute part of the all-purpose flour with whole wheat flour.
- Sweet Twist – Skip garlic and brush with cinnamon sugar butter instead!
🥗 Fit-Your-Diet Adjustments
- Gluten-Free: Use a 1:1 gluten-free flour blend and adjust liquid as needed.
- Dairy-Free: Use plant-based butter for the garlic topping.
- Low-Sodium: Reduce or skip added salt in dough and butter topping.
- Vegan: Use dairy-free butter and sugar that’s certified vegan.
ADVERTISEMENT
❓ FAQs
- Can I make the dough ahead of time?
Yes, refrigerate the dough after the first rise and bake the next day. - How long do they keep?
Best eaten fresh, but store in an airtight container for up to 3 days. - Can I freeze them?
Yes! Freeze baked breadsticks, then reheat in the oven until warm. - Why are my breadsticks dense?
The dough may not have risen enough or the yeast could be expired.
Conclusion
Recreating Olive Garden Breadsticks at home is easier than you think! These buttery, garlicky breadsticks are the ultimate comfort food and will elevate any meal. Whether you’re serving them alongside your favorite Italian dishes or enjoying them as a snack, these breadsticks are a guaranteed hit.