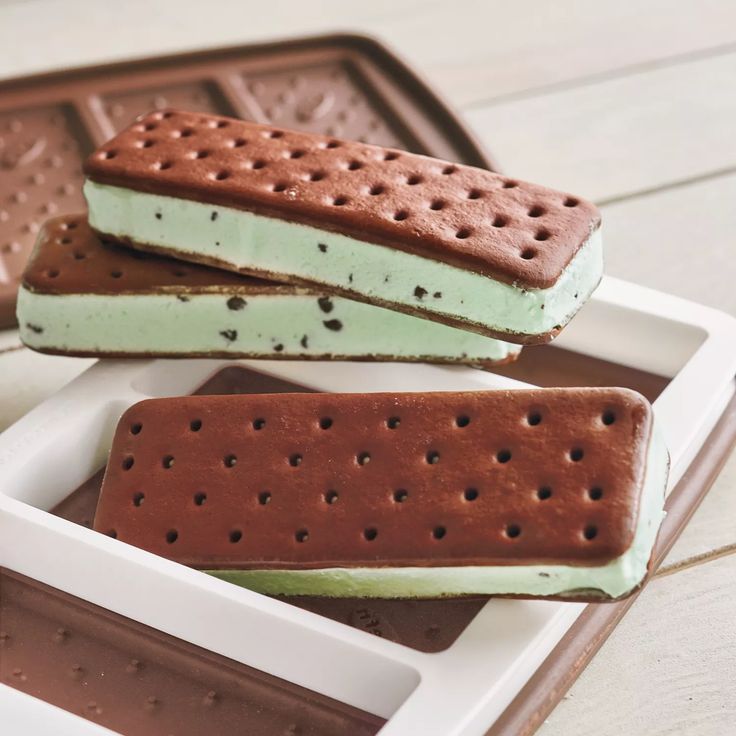
Nothing says summer like an ice cream sandwich — two soft, chewy cookies hugging a layer of cold, creamy ice cream. It’s the ultimate warm-weather dessert, combining the nostalgic joy of childhood treats with the endless creativity of flavor combinations. While store-bought versions are convenient, homemade ice cream sandwiches are in a league of their own — fresher, customizable, and far more delicious.
When made from scratch, every element of the ice cream sandwich becomes an opportunity to elevate the experience. You can opt for classic vanilla ice cream between chocolate cookies, go wild with peanut butter cookies and chocolate fudge ice cream, or mix and match cookies and fillings based on your mood. The beauty of making them at home is in the flexibility — and, of course, the fun.
Recommended Kitchen Tools
To make the process of crafting ice cream sandwiches easier and neater, here are the recommended kitchen tools you should have on hand:
- Electric Mixer (Hand or Stand) – For making the cookie dough quickly and evenly.
- Mixing Bowls – You’ll need a couple for dry and wet ingredients.
- Measuring Cups and Spoons – For precision in baking.
- Baking Sheet with Parchment Paper – To ensure even cookie baking and easy removal.
- Cookie Scoop or Ice Cream Scoop – For uniform cookie sizes and ice cream portions.
- Offset Spatula – Helpful when spreading or smoothing ice cream layers.
- Plastic Wrap or Wax Paper – For wrapping and freezing assembled sandwiches.
- Sharp Knife – For trimming edges or slicing frozen sandwiches cleanly.
- 9×13-inch Pan (optional) – If making sheet-style sandwiches to cut into squares.
Having these tools makes assembling and storing your sandwiches cleaner, quicker, and more enjoyable.
Ingredients
This recipe focuses on the classic combination: soft chocolate chip cookies with creamy vanilla ice cream. However, feel free to swap out flavors as desired.
For the Cookies (makes about 12 sandwiches):
- 1 cup (225 g) unsalted butter, softened
- 1 cup (200 g) brown sugar
- 1/2 cup (100 g) granulated sugar
- 2 large eggs
- 1 teaspoon vanilla extract
- 2 1/2 cups (315 g) all-purpose flour
- 1 teaspoon baking soda
- 1/2 teaspoon baking powder
- 1/2 teaspoon salt
- 2 cups (340 g) semi-sweet chocolate chips
For the Ice Cream Filling:
- 1.5 quarts (about 1.4 liters) vanilla ice cream (or any flavor)
- Optional mix-ins: mini chocolate chips, crushed Oreos, sprinkles, peanut butter swirls
For best results, use high-quality, full-fat ice cream — it holds shape better and offers a richer flavor.
Preparation
Step 1: Prepare the Cookie Dough
In a large mixing bowl, beat the softened butter with both sugars until light and fluffy (about 2–3 minutes). Add eggs one at a time, beating well after each addition. Stir in vanilla extract.
In a separate bowl, whisk together the flour, baking soda, baking powder, and salt. Gradually add dry ingredients to the wet ingredients until just combined. Fold in the chocolate chips.
Cover the dough and chill for at least 30 minutes — this prevents the cookies from spreading too much and ensures a chewier texture.
Step 2: Bake the Cookies
Preheat your oven to 350°F (175°C). Line baking sheets with parchment paper.
Using a cookie scoop, portion out dough into 2-inch rounds. Flatten slightly with your hand or the back of a spoon for more uniform sandwiches.
Bake for 10–12 minutes or until the edges are just set and the centers are still soft. Let them cool on the pan for 5 minutes, then transfer to a wire rack. Let the cookies cool completely before assembling.
Step 3: Prep the Ice Cream
While the cookies cool, take the ice cream out of the freezer to soften slightly (about 10–15 minutes). If you want perfectly shaped layers, spread the softened ice cream evenly in a 9×13-inch baking dish lined with parchment paper, then refreeze for 30–60 minutes.
You can then cut the ice cream into slabs or rounds using a knife or a cookie cutter the same size as your cookies.
Step 4: Assemble the Sandwiches
Once the cookies are fully cooled and the ice cream is firm but scoopable:
- Place a generous scoop of ice cream on the flat side of one cookie.
- Top with a second cookie and gently press together until the ice cream spreads to the edges.
- Smooth the sides with a spoon or offset spatula if needed.
Optional: Roll the edges in mini chocolate chips, chopped nuts, sprinkles, or crushed candy for an extra touch of flair.
Step 5: Freeze Before Serving
Wrap each sandwich individually in plastic wrap or parchment paper and place in a freezer-safe container. Freeze for at least 1–2 hours to firm up.
When ready to serve, let the sandwiches sit at room temperature for 5–10 minutes to soften slightly for the best texture.
FAQ
Can I use store-bought cookies?
Absolutely! Store-bought cookies work in a pinch, especially soft-baked ones. But for the best taste and texture, homemade cookies are hard to beat.
How do I keep my ice cream from melting during assembly?
Work in batches. Keep ice cream and cookies in the freezer until you’re ready to assemble. You can also return the assembled sandwiches to the freezer immediately after each one is made.
Can I use different ice cream flavors?
Yes! That’s the fun part. Try pairing:
- Chocolate cookies with mint chocolate chip
- Oatmeal cookies with salted caramel
- Peanut butter cookies with chocolate fudge
- Sugar cookies with strawberry ice cream
How long do homemade ice cream sandwiches last?
They can be stored in the freezer for up to 2 weeks. Wrap them tightly to avoid freezer burn and keep them in an airtight container.
Can I make dairy-free or gluten-free versions?
Yes. Substitute with gluten-free flour and dairy-free butter and ice cream. Use allergen-free chocolate chips if needed.
Why are my cookies too hard after freezing?
If your cookies are crispy or crunchy, they’ll become too hard when frozen. Use recipes that make soft, chewy cookies — they freeze and thaw better for ice cream sandwiches.
Conclusion
Homemade Ice Cream Sandwiches are the perfect blend of chewy, creamy, cold, and sweet — everything you could want in a summer treat. Whether you’re keeping things classic or getting creative with cookie and ice cream combinations, this recipe gives you the base to build the perfect frozen dessert.
Beyond their delicious taste, these sandwiches offer a nostalgic fun factor that appeals to all ages. They’re great for making ahead, ideal for parties or family treats, and customizable for any preference or dietary need.