Rich. Creamy. Decadent. Few desserts capture the hearts (and tastebuds) of chocolate lovers like a perfectly made Chocolate Custard Layered Cake. This indulgent dessert features moist chocolate cake layers alternated with silky smooth chocolate custard, creating a luxurious treat that’s perfect for birthdays, holidays, or any time you crave something deeply satisfying.
What makes this cake stand out is the harmony between textures: fluffy cake and velvety custard. Unlike traditional buttercream-filled cakes, this custard-filled beauty melts in your mouth with every bite. And the best part? You don’t need to be a pastry chef to make it—just follow the simple steps outlined here.
Whether you’re baking for a special event or just want to treat yourself, this Chocolate Custard Layer Cake is a showstopper you’ll want in your recipe book forever.
🛠️ Recommended Kitchen Tools
To ensure a smooth baking experience, gather the following tools:
- 2 (8-inch or 9-inch) round cake pans
- Mixing bowls (medium and large)
- Hand mixer or stand mixer
- Whisk
- Saucepan
- Rubber spatula
- Measuring cups and spoons
- Cooling rack
- Offset spatula or knife for spreading
- Cake stand or serving platter
🧾 Ingredients
For the Chocolate Cake:
- 1 ¾ cups all-purpose flour
- ¾ cup unsweetened cocoa powder
- 2 tsp baking powder
- ½ tsp baking soda
- ½ tsp salt
- 1 cup granulated sugar
- ½ cup brown sugar
- ¾ cup vegetable oil
- 2 large eggs
- 1 cup buttermilk
- 1 tsp vanilla extract
- ½ cup hot water or hot brewed coffee (enhances chocolate flavor)
For the Chocolate Custard Filling:
- 2 cups whole milk
- ½ cup granulated sugar
- 3 tbsp unsweetened cocoa powder
- 2 tbsp cornstarch
- 1 tbsp all-purpose flour
- ¼ tsp salt
- 4 large egg yolks
- 1 tbsp unsalted butter
- 1 tsp vanilla extract
- ½ cup chopped dark chocolate (optional for richer flavor)
Optional Chocolate Ganache Topping:
- ½ cup heavy cream
- 4 oz semi-sweet or dark chocolate, chopped
👨🍳 Preparation
Step 1: Make the Cake Layers
- Preheat oven to 350°F (175°C). Grease and flour two 8-inch or 9-inch round cake pans.
- In a large bowl, whisk together flour, cocoa, baking powder, baking soda, and salt.
- In another bowl, beat sugar, brown sugar, and oil. Add eggs one at a time, then mix in buttermilk and vanilla.
- Gradually mix in the dry ingredients. Slowly stir in hot water or coffee.
- Divide batter between pans and bake for 25–30 minutes, or until a toothpick comes out clean.
- Cool in pans for 10 minutes, then turn onto a wire rack to cool completely.
Step 2: Make the Chocolate Custard
- In a medium saucepan, whisk together sugar, cocoa, cornstarch, flour, and salt.
- Whisk in egg yolks and milk until smooth. Cook over medium heat, stirring constantly.
- Once mixture thickens and starts to bubble, cook for 1 more minute.
- Remove from heat. Stir in butter, vanilla, and optional chopped chocolate. Cool to room temperature.
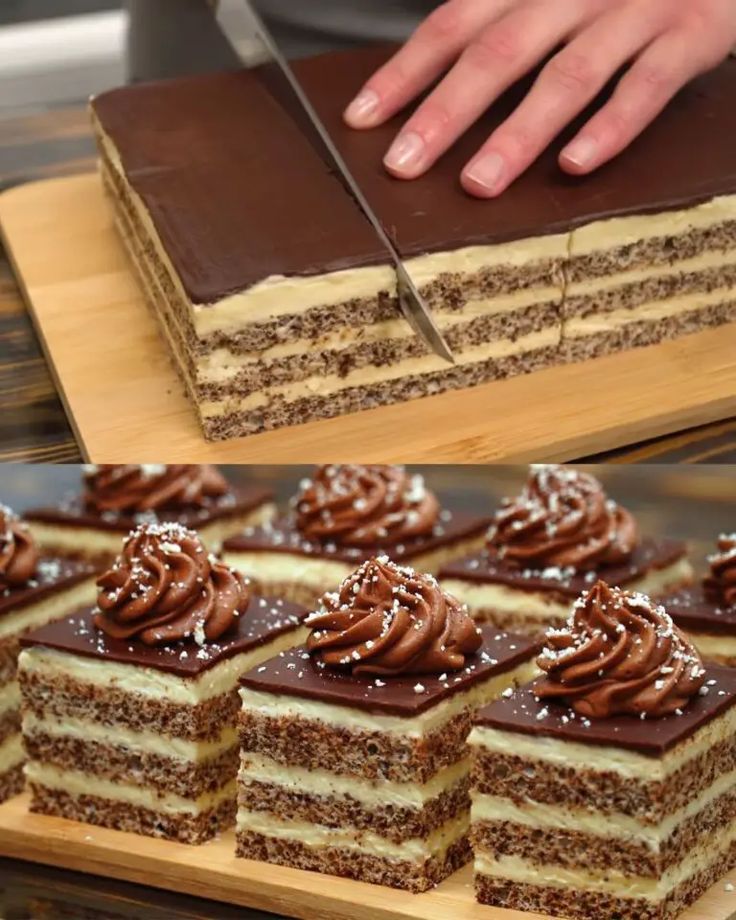
Step 3: Assemble the Cake
- Slice cake layers in half horizontally for four layers, or keep two thick layers.
- Place one cake layer on a serving plate. Spread a generous layer of custard on top.
- Repeat with remaining layers, ending with a cake layer on top.
- Chill the cake in the refrigerator for at least 1 hour to firm up.
Step 4: Optional Ganache Topping
- Heat cream in a small saucepan until just simmering. Pour over chopped chocolate.
- Let sit for 2 minutes, then stir until smooth.
- Pour ganache over chilled cake, letting it drip down the sides. Chill again until set.
💡 Tips for Success
- Use room-temperature ingredients for a smoother cake batter and custard.
- Don’t overbake the cake, as it will dry out. Start checking at the 25-minute mark.
- Cool the custard completely before layering to prevent melting the cake.
- For clean slicing, refrigerate the cake for at least 4 hours or overnight.
- Add parchment rounds to the bottom of the pans to prevent sticking.
🍫 Recipe Variations
- Vanilla Custard Filling: Replace cocoa with 2 tsp vanilla extract for a classic Boston Cream-style filling.
- Fruit Layer: Add sliced strawberries or raspberries between custard layers for a fruity twist.
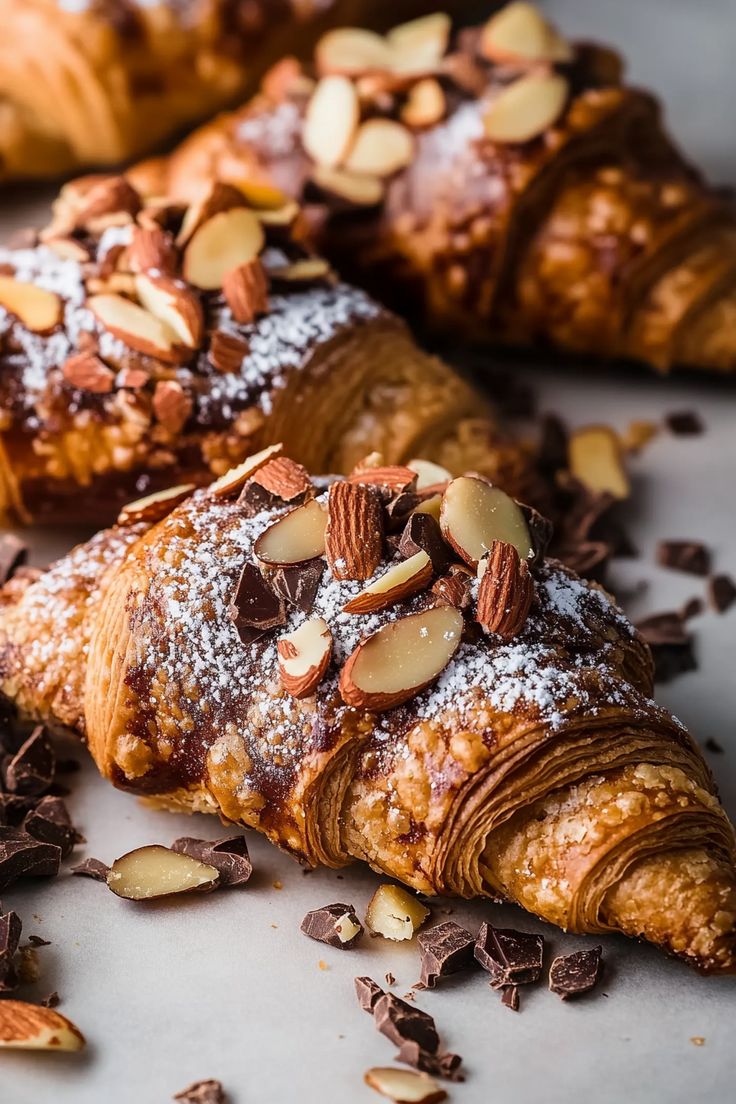
- Nut Crunch: Sprinkle crushed hazelnuts or almonds between layers for texture.
- Mocha Cake: Add 1 tsp espresso powder to the custard or cake batter for a coffee-chocolate combo.
- Mini Layer Cakes: Use a round cookie cutter to make individual mini stacked cakes for parties.
🥗 Make It Fit Your Diet
Dairy-Free:
- Use dairy-free milk like almond or oat in the custard and cake.
- Replace butter and cream with vegan alternatives.
Egg-Free:
- Substitute eggs with flaxseed meal (1 tbsp flax + 3 tbsp water = 1 egg).
- Use cornstarch to thicken custard without egg yolks.
Gluten-Free:
- Use a gluten-free flour blend for both the cake and custard thickener.
- Check that your chocolate and cocoa are certified gluten-free.
❓ FAQs
Q: Can I make this cake in advance?
A: Absolutely. You can make the cake layers and custard a day ahead and assemble it when ready. It actually tastes better after chilling overnight.
Q: How do I store leftovers?
A: Cover and refrigerate for up to 4 days. The custard keeps the cake moist and delicious.
Q: Can I freeze the cake?
A: You can freeze the cake layers separately. Wrap tightly and store up to 2 months. Custard doesn’t freeze well, so assemble fresh.
Q: Can I use a cake mix?
A: Yes! Use a chocolate cake mix to save time, then focus on making homemade custard for that rich, authentic flavor.
Q: My custard is too thin. What do I do?
A: Keep cooking while stirring—it thickens as it simmers. If it still doesn’t thicken, add a slurry of 1 tbsp cornstarch + 2 tbsp milk and return to heat.
📝 Conclusion
This Chocolate Custard Layered Cake is the epitome of dessert bliss—moist cake layers enveloped in creamy, chocolatey custard, crowned with optional ganache for extra indulgence. It’s a labor of love that rewards you with every bite.
Whether you’re baking for a celebration or just want to impress yourself (and your taste buds), this cake is a chocolate lover’s dream come true. Try it once, and it might just become your signature dessert.